 In honor of Mardi Gras, I attempted to bake a traditional King Cake. I modified a recipe from Nola.com, which seemed to be an appropriate source for such an endeavor.
Ingredients
– 5 c. flour – 1/2 c. sugar – 1 1/2 tsp salt – 2 packets instant yeast – 3/4 c. whole milk – 1/2 c. water – 1 c. butter – 3 eggs – 1 tsp lemon zest – 1 Tbsp cinnamon – dash of nutmeg – 1 tsp vanilla – powdered sugar
Recipe
Combine the milk, water and butter in a small saucepan on the stove. Slowly bring up the heat, stirring occasionally. You are looking to reach 120-130 degrees (for reference, milk boils at over 200 degrees Fahrenheit). I used a small candy thermometer to pace properly.
In a mixing bowl (I used my KitchenAid stand mixer), combine 1 1/2 cups of flour with the sugar, salt and instant/rapid yeast. Once the liquid on the stovetop has reached 120 degrees, combine with the flour mixture and mix on medium speed for two minutes. You will start to smell the yeast activating – it will not resemble a traditional cake batter (and it’s not supposed to!).
Add 2 eggs, 1 egg yolk, 1/2 cup flour, lemon zest, cinnamon, a dash of nutmeg (1/8 teaspoon would be fine) and vanilla. Beat on medium-high speed for two minutes, stopping to scrape the sides occasionally, then slowly add in the remaining 3 cups of flour.
Transfer the dough to a large bowl coated with cooking spray. You want to ensure the dough has room to expand. Cover in plastic wrap and refrigerate for two hours.
 Once the dough has chilled for two hours, punch the surface down and turn out onto a lightly floured surface. First shape the dough directly with your hands – you are looking to achieve a rough rectangle. Then, using a floured rolling pin, slowly roll the dough to a rough 24″ by 12″ size. Continue to run your fingers or a spatula underneath the dough to ensure it isn’t sticking to the surface.
Melt 2 tablespoons of butter, and brush onto the surface of the dough using a pastry brush. Lightly sprinkle cinnamon and sugar (I combined 1/3 cup sugar and 1 tablespoon of cinnamon into a shaker) across the entire surface, aiming for even and complete distribution. Beginning on one of the long sides, roll the dough tightly. You are aiming for a long thin log, not a short thick log. In my first attempt I almost started rolling from a short end but quickly caught my mistake!
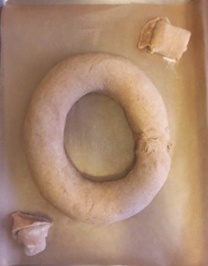
Transfer the roll onto a baking sheet lined with parchment paper, shaping into an oval and pinching the ends together to complete the ring. I sliced off the uneven end pieces, baking them separately to give me a sense of the cake’s composition (you see them in the photograph above). You want to leave as much space in the middle of the oval as possible, as the dough expands quite a bit.
Cover the dough ring with a clean dish towel and place in a warm area of the house for about an hour. You are proofing the dough, a key step with yeast-based dough.
Preheat the oven to 375 degrees, and bake for 25-30 minutes until golden brown. Carefully check the center of the round to ensure it has properly cooked through. Let it cool on the pan for 5 minutes, then transfer to a baking rack to cool completely. For the transfer, use two spatulas. Do not attempt to solely pick up the parchment paper – this is a sure way to lose the cake you just baked!
Decorating
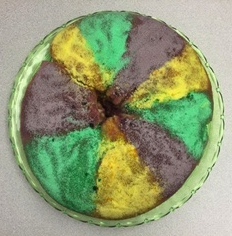
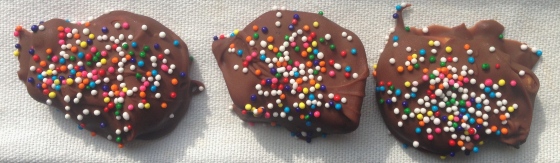
 After the cake has had the chance to cool completely – I left for a few hours with the clean dish towel draped over the top – mix 2 cups of powdered sugar with 1 tablespoon of milk (again, I used the KitchenAid stand mixer for expediency). Slowly and cautiously add additional liquid as needed – you do not want it to be too liquidy. Drizzle the icing over the cake. My first icing unfortunately had too much milk, so I used it more as a glaze with my pastry brush. You can either dye the icing in the traditional yellow, green and purple of Mardi Gras, or coat the icing in colored sugars. I chose the sugars, which I like both aesthetically as well as texturally, and made them myself because I couldn’t locate them in local stores!
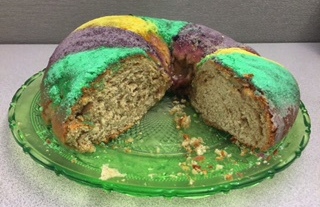
The cake absolutely needs the icing and additional sugar, as it is not a particularly sweet batter. It is at this stage where you can add the traditional “good luck” baby as well. You do not want to ever actually bake plastic into the cake, but instead insert after the cake has cooled through the bottom. We used a small plastic dinosaur from the 99 cent store, putting our own personal twist on it.
This easily serves 14-16 people, depending on the voracity of appetite. Once the cake has been cut, this starts to dry out almost immediately. If somehow you manage to have a section left, I would allow it to dry out completely to use the remaining bread in a simple bread pudding. Enjoy, and Happy Mardi Gras!
Until next time,
SugarSource
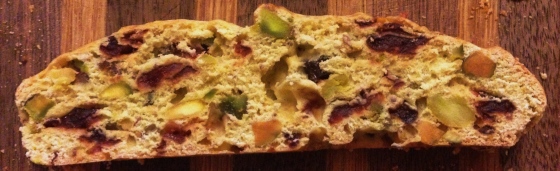 It had never really crossed my mind to try to bake biscotti before, but I came across the following recipe over the holidays and decided to give it a whirl. This calls for only baking once, instead of twice as is tradition, so I thought it would be a good way to ease into the world of baking biscotti.
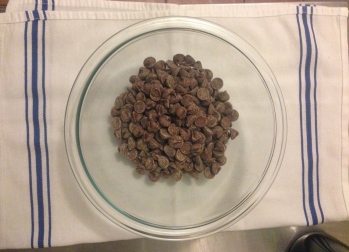
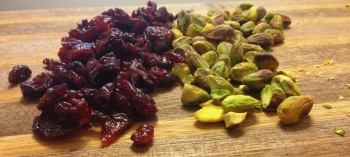 Chop the dried tart cherries and shelled pistachios (I found both at Whole Foods, and any store with a bulk section should have these ingredients available). Though you can use them whole, as originally suggested in the recipe, I roughly chopped them, as I believe the final biscotti slices are easier to eat with smaller mix-ins.
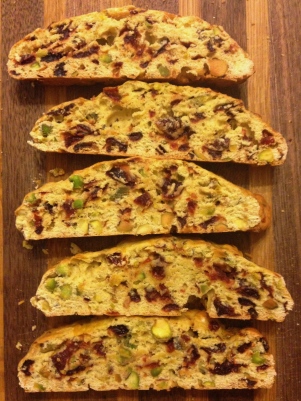 Preheat the oven to 325 degrees. Shape the dough into 12″x5″ logs and place on parchment paper. I was able to fit both onto one cookie sheet, and did most of the stretching mid-air, as the dough remains quite sticky!
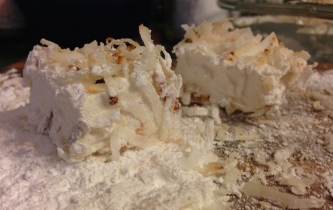 I stumbled upon this coconut marshmallow recipe over a year ago, and finally decided to make it this year. If you have ever thought about trying your hand at homemade marshmallows, give these a whirl! They are a fantastic accompaniment to a cup of hot cocoa, provide a twist on the traditional s’more and are delicious on their own.
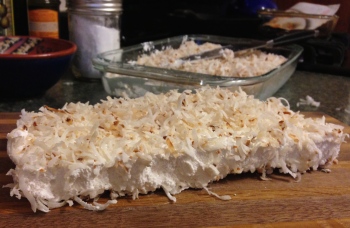 In a small saucepan, mix the sugar, corn syrup, salt and 1/2 cup water, cooking on medium. Once the sugar has dissolved, increase to high and cook until the mixture reaches 240 degrees on a candy thermometer. It will be boiling – that is to be expected – but watch for any bubbling that could spill over the edges. If this happens, pick up the pot and set it back on the burner once the bubbling as subsided.
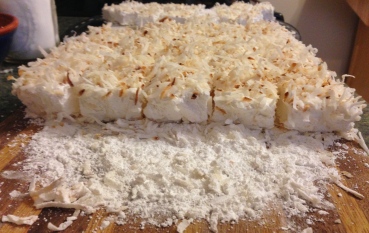 In a 13″ x 9″ glass pan (I used Pyrex), heavily dust the bottom with powdered sugar and then sprinkle roughly half the toasted coconut on top. Pour the marshmallow mixture next, and use a spatula to smooth out the surface. It will be sticky! Sprinkle the remaining coconut and allow to dry overnight – at least 12 hours.
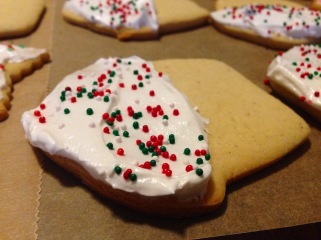 Holiday baking is in full swing! One of my favorite Christmas memories is sinking my teeth into one of my Grandma Ruth’s sugar cookies. I finally decided to take a stab at the treats, and was pleasantly surprised to discover how simple they were to make, outside of the seven-minute frosting. I have a feeling they will become a part of my annual holiday rotation in her honor, though this recipe can be used for any time of year with the appropriate cookie cutter!
 When you are ready to bake, preheat the oven to 400 degrees F. Cut off 1/4 of the dough and roll out on a lightly floured surface to roughly 1/4″ thickness. Use any cookie cutter you wish, placing on ungreased cookie sheets.
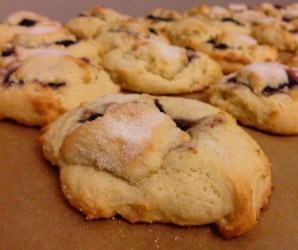 My mother and her friends have a cookie party tradition that dates back over thirty years! One of my favorites were the “Christmas Mountain Cookies” a family friend always brought, and one year she finally relented and showed me how to make them. Though they are a bit tedious when it comes to preparation, they are beloved in our home. The good news is that they are worth the effort, and I firmly believe your friends and family will agree!
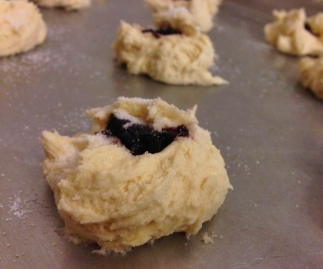 Once the sheets are full, make a small indentation in the center of each cookie, filling with a small amount of raspberry spread. You do not want to use a raspberry jelly, as it will most likely run, and want to be careful near the edges.
 On a windy cold day in February, I am embarked on my second
 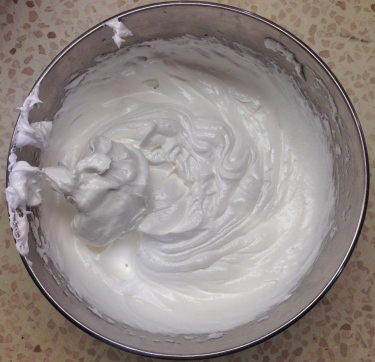 First, we combined sugar and water in a saucepan, heating until 245 degrees. As the mixture was warming, we beat egg whites together until the frothiness disappeared. At peak temperature, we added the sugar into the egg whites, beating at a high speed until stiff shiny peaks appeared and the bowl itself started to cool. The mixture should look uniform – when the sugar is first introduced, the edges will still look foamy. This is called Italian meringue, and is the only type of meringue you can use for the batter.
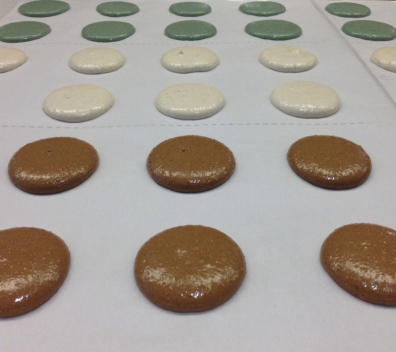 Pipe the dough onto a baking sheet covered in parchment paper. Each participant had a grid of small circles underneath the parchment to help guide us toward evenly sized and spaced shells. We started in the middle of each circle, flipping the bag completely straight downward and squeezing slowly 1/4″ away from the parchment paper. This allowed the circle to fill evenly without creating peaks. After completing a row (or two), we picked up our trays and banged on the bottom. This got rid of air bubbles and also helped to flatten the cookies for a shiny smooth texture. Once the sheet was full, our instructor placed them in a warm area to dry for 20-24 minutes.
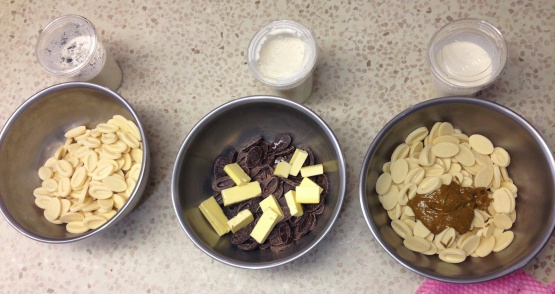 Each began by boiling cream until it just started to froth, then immediately adding it to a combination of chocolate, flavoring and, in the case of the chocolate ganache, butter. Once combined, we whipped with a whisk until it completely smooth. We were also treated to macaron samples as we waited. The espresso was rich and intense, the green tea matcha was earthy and captured the essence of the flavor, and the raspberry was sharp and full-bodied.
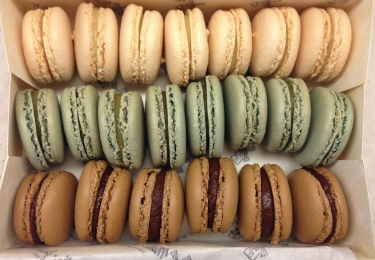 We then matched up each kind by size – mine were nowhere near uniform, and you want similar-sized macarons for each sandwich. Typically it is better to wait 24-36 hours before filling the shells. However, if you can’t wait – like in a 2.5 hour class – you can spray the shells with water (very lightly) before filling. We piped the ganache in a similar fashion to the shells, leaving a slight border. After completing a row, I placed each corresponding shell on top and lightly twisted the two together.
 To quickly cool, we pop these into the freezer. They are ready for guests to enjoy within the hour, and last for 1-2 weeks (though we have found they are long-gone before then).
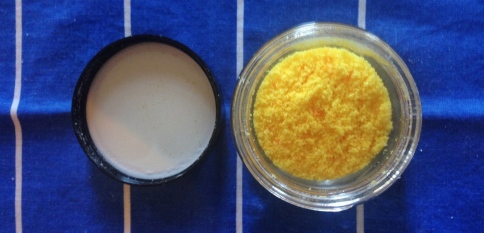 In preparation for baking
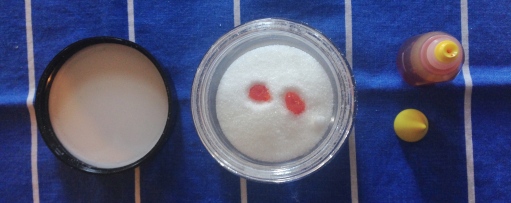
 After initially taking
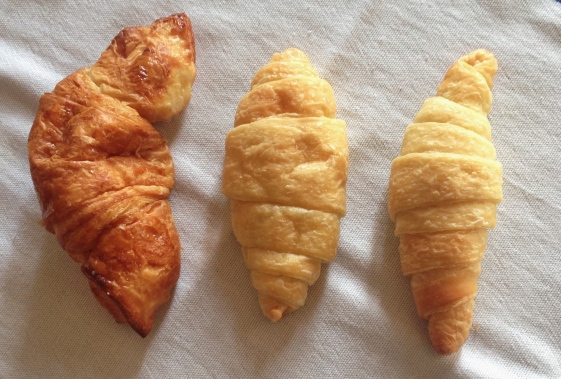
 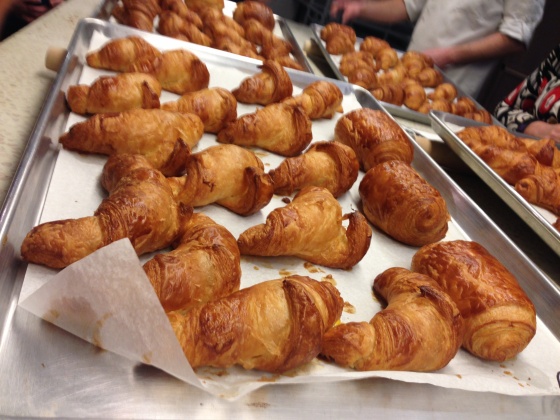 I finally took the plunge, and signed up for a croissant class at